

This tutorial was written by me on
April 25, 2014, using PSP X but any version will work. This tut is
written assuming you have a working knowledge of PSP. Any similarity
to any other tutorial is purely coincidental.
Supplies:
Graphics of Fantasy Cluster Frame 'Soft Elegance' made by me click here
Tube of choice - I am using the gorgeous art of Very Many available at verymanytubes.com
DVB Masks 133 available at Designs by Vabs
Zephyr Script font click here
Filters Needed:
Eye Candy filter Perspective Shadow - free download here.
Filters Unlimited 2.0 - free trial download here.
(although I used these filters, the tag can be made without them by using drop shadow and eliminating the steps involving Filters Unlimited)
Don't forget to save often!
To begin, open a blank canvas 600 x 600.
Floodfill with a color complimentary with your tube. I used #dbded6.
Apply mask and merge group.
Apply Filters Unlimited -> Paper Textures-> Japanese Paper
with these settings:

Open and copy the cluster frame. Paste as a new layer and resize 95%:
(do not select 'Resize all layers')

Use the Eraser Tool to erase the copyright from the frame layer.
Add a Perspective Shadow using Eye Candy with these settings:

*If you do not have Eye Candy, use a drop shadow of your choice.
Open the tube you are using and copy. Paste as a new layer and resize to fit the canvas. I resized the Very Many 'Spring' tube by 52%. Add the same perspective shadow as you used before.
From the original tube, use your Selection Tool in selection mode to select a portion of the tube to use in the tag behind the frame. Here is a sample of how I did mine:

Copy and paste as a new layer under the frame layer and rename the layer 'selection 1'. Resize and position so that it is behind the opening in the frame. Use the Eraser Tool to remove any portion that may show outside of the frame. See my finished tag at the top of the tut as a reference. Duplicate the layer and rename this layer 'selection 2'.
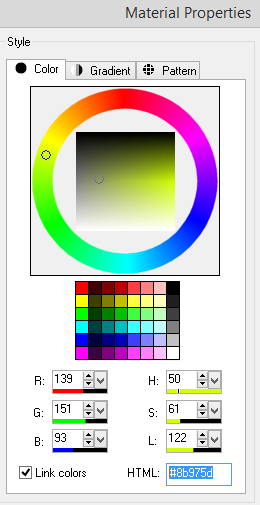
Recolor the original layer (selection 1) using the Color Replacer Tool and this color #8b975d.
Add a drop shadow of V:2, H:2, Opacity 55.

Now go back to the duplicate layer (selection 2) and set the Blend Mode to Screen (see below):

Add the Filters Unlimited - Japanese Paper effect to this layer using the same settings as before.
Go back to the top layer. This should be your tube layer. Select Merge-> Merge Visible.
Add the tube copyright. Add text of your choice using Zephyr Script font. Merge and save as a PNG.
Thank you for trying this tutorial!
Oh I just love the looks of this!!! Thanks for sharing it KF!!!!
ReplyDelete